About Us
Welcome to Regal Rarities
Where heritage meets craftsmanship and culture becomes fashion.
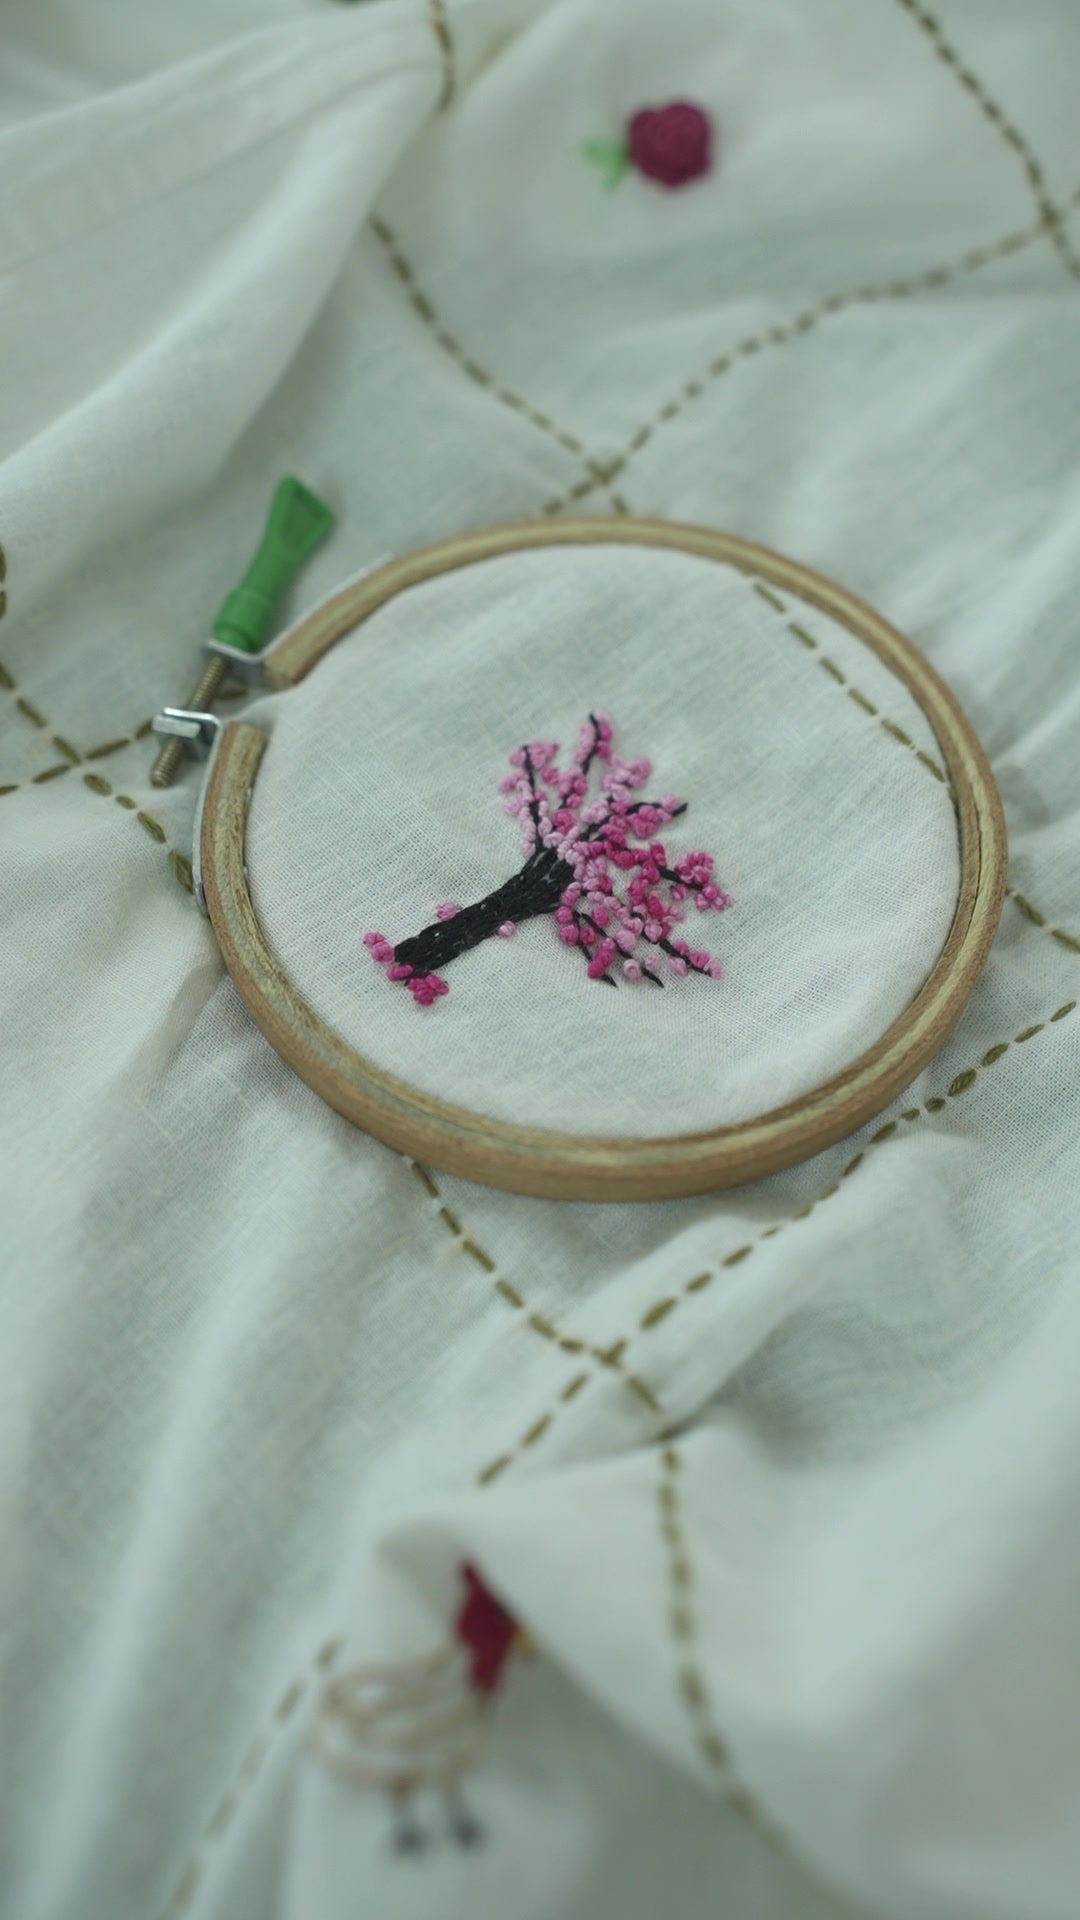
As India’s premier made-to-order cultural fashion brand, Regal Rarities brings you hand-embroidered shirts, blazers, and bags—each uniquely crafted to reflect the richness of Indian tradition with a modern twist.
Whether it’s for a special occasion or everyday elegance, our pieces are designed to tell a story—your story, rooted in India’s timeless artistry.
What Makes Regal Rarities Unique?
Customized, Made-to-Order Fashion with Cultural Elegance
At Regal Rarities, every piece is crafted just for you—blending timeless Indian tradition with modern-day utility and style. Whether it’s a shirt, blazer, or bag, we offer thoughtful customization to suit your personality and purpose.
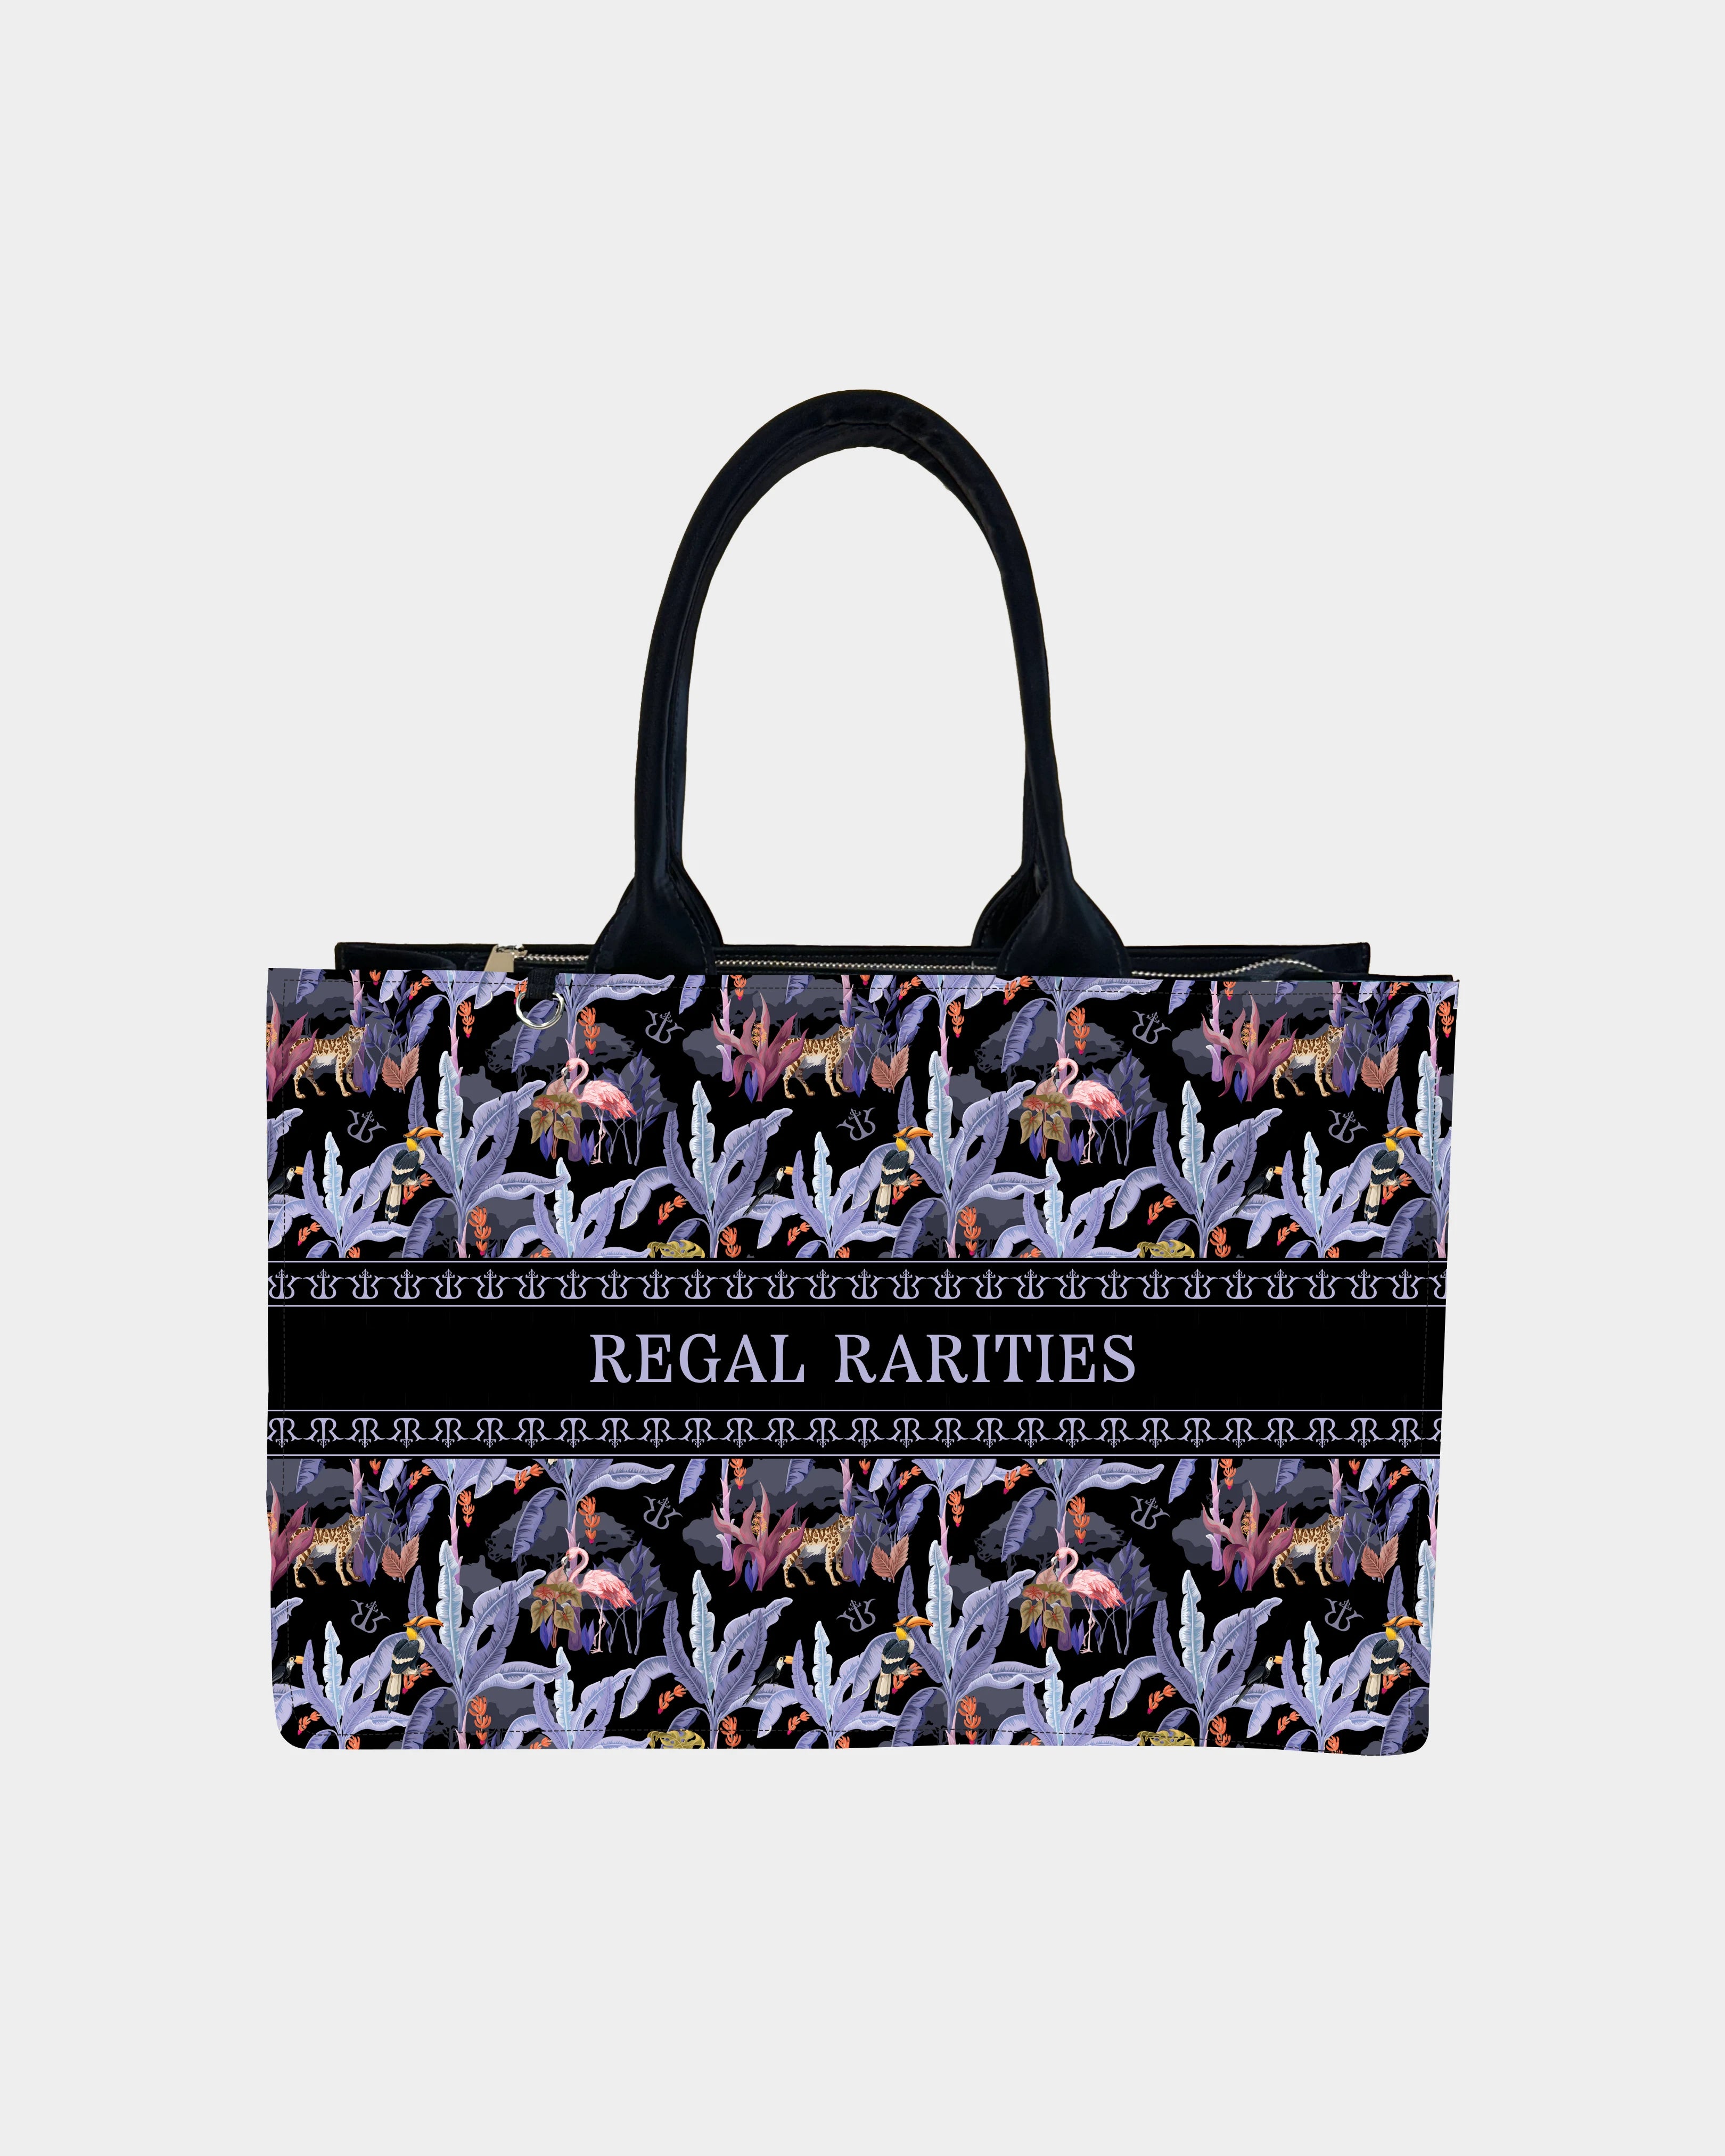
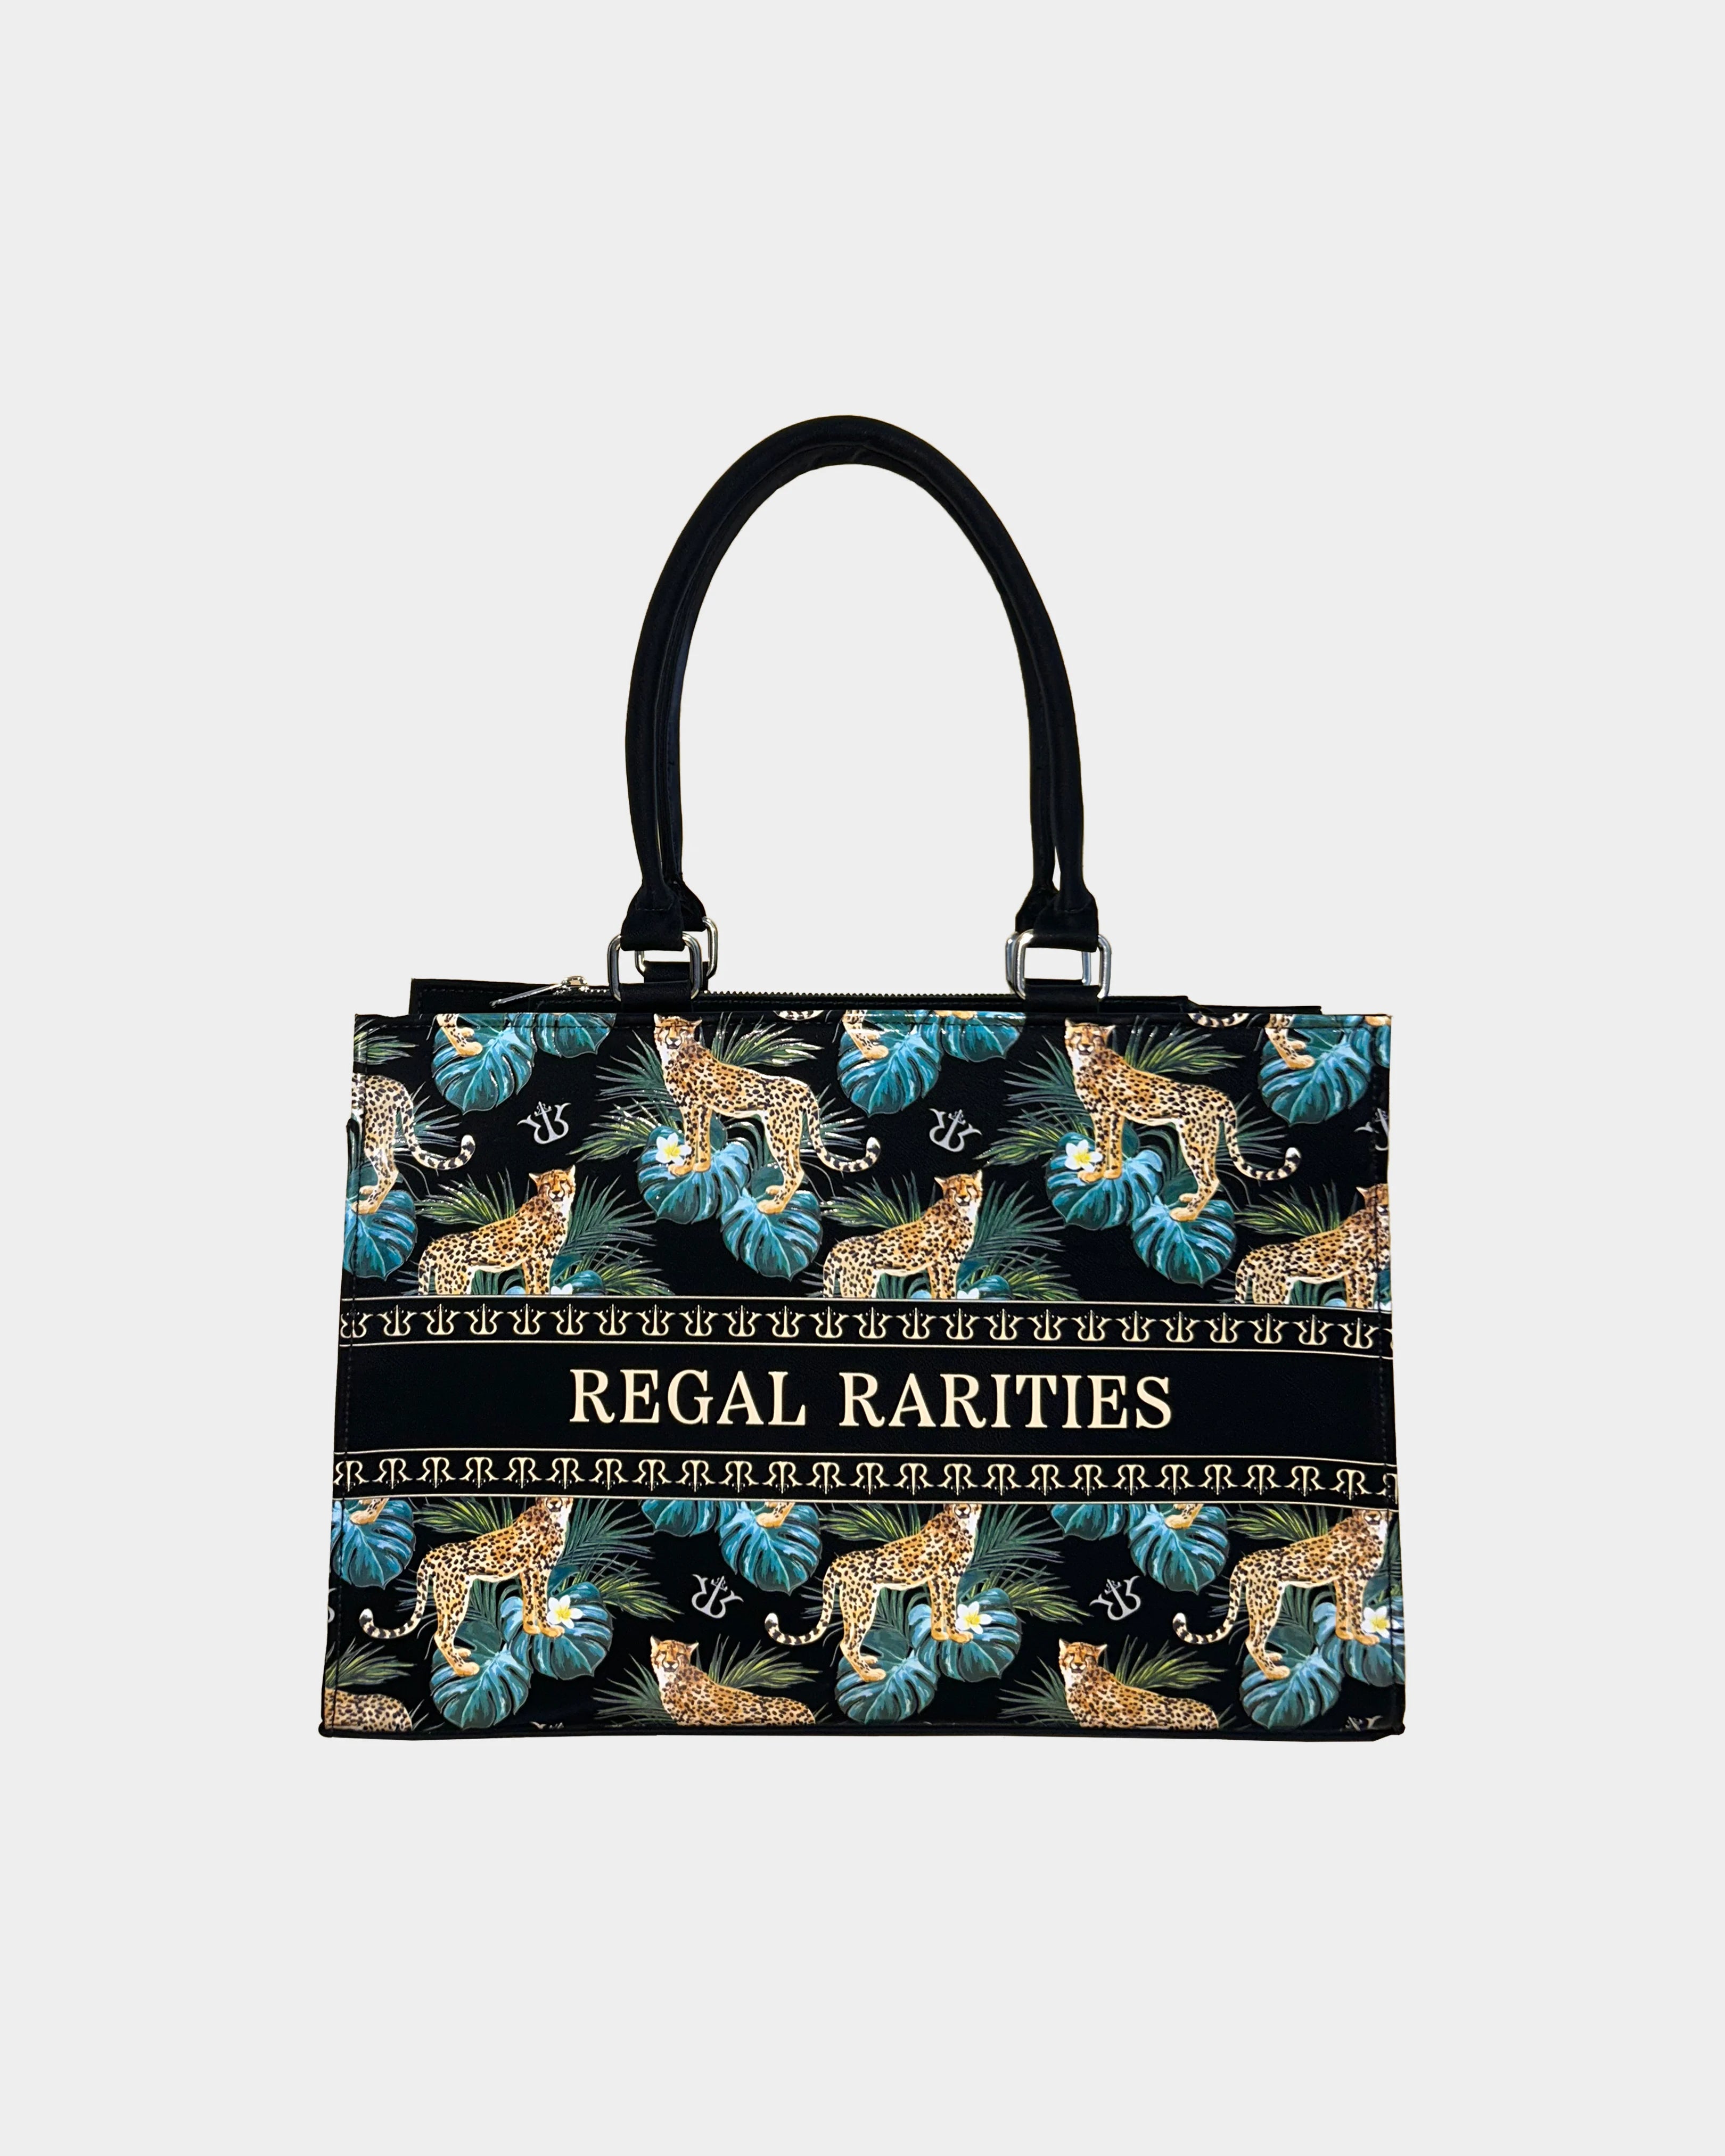
• Handcrafted Bags: Designed for your everyday life—from travel to work or casual outings. Customize size, compartments, straps, and even add your name for a truly personal touch.
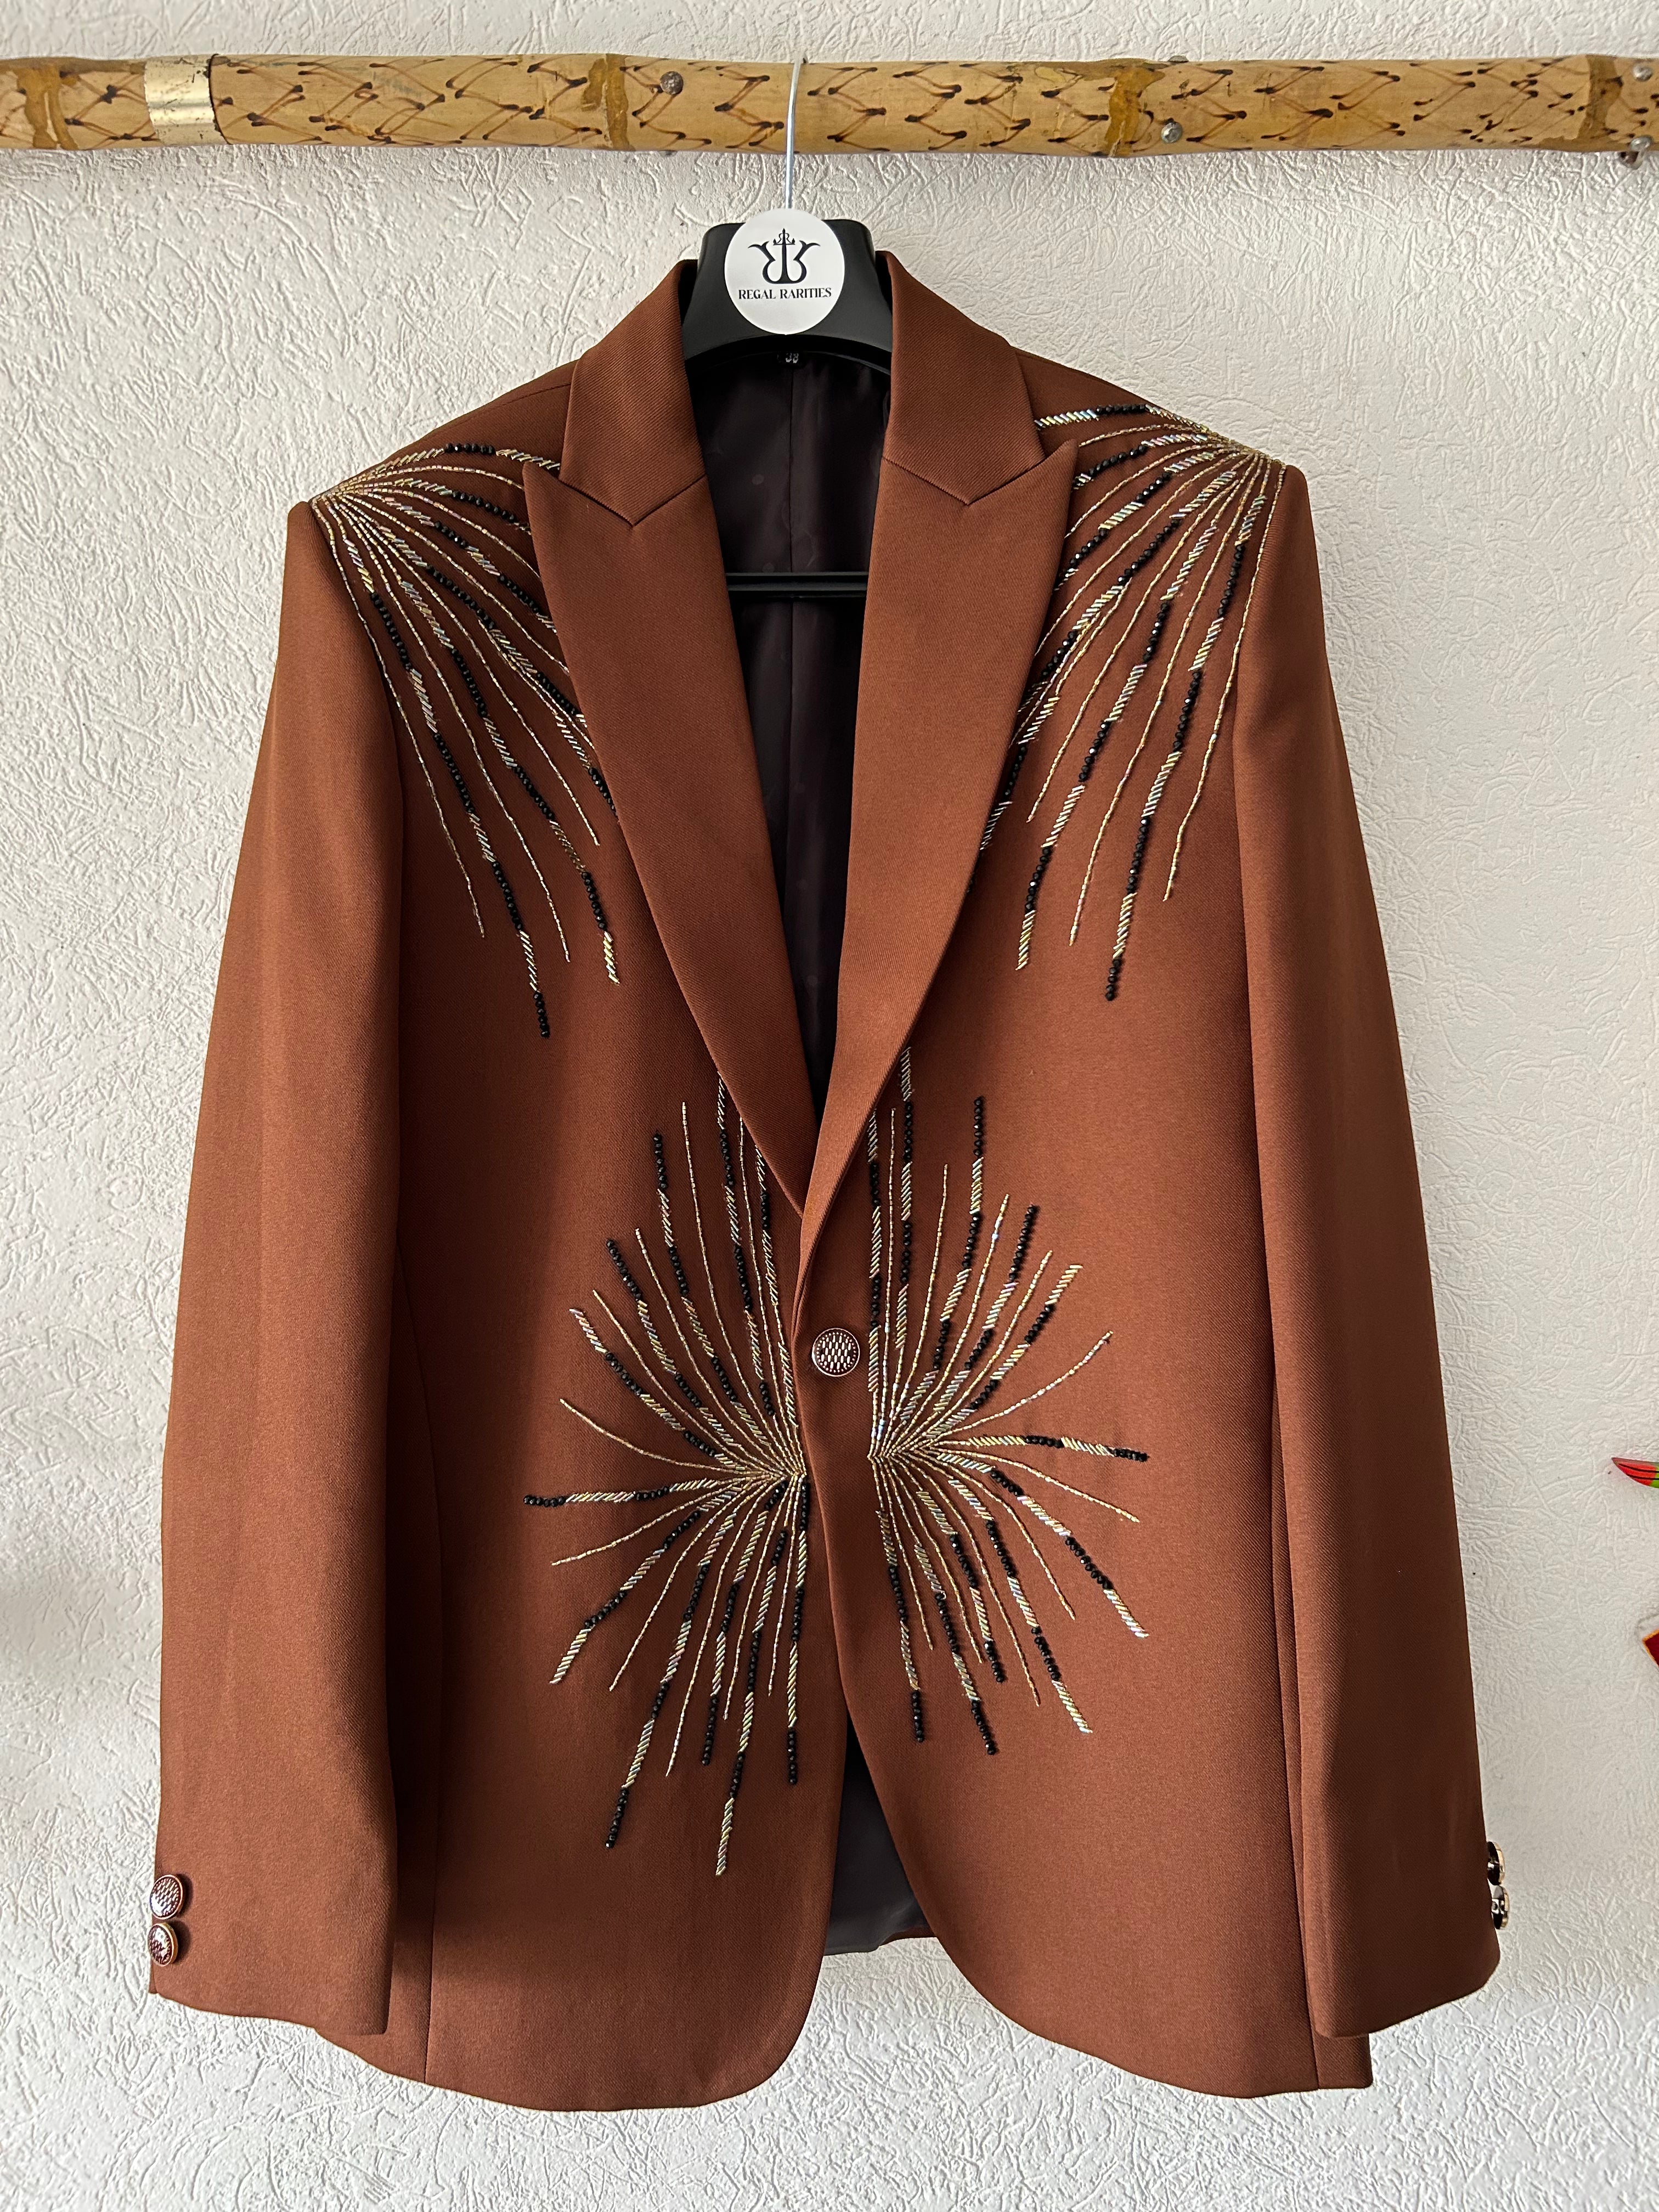
• Designer Blazers: Make a statement at weddings, cultural events, or special occasions. Our blazers are hand-embroidered and tailored to fit—each one a wearable piece of art.
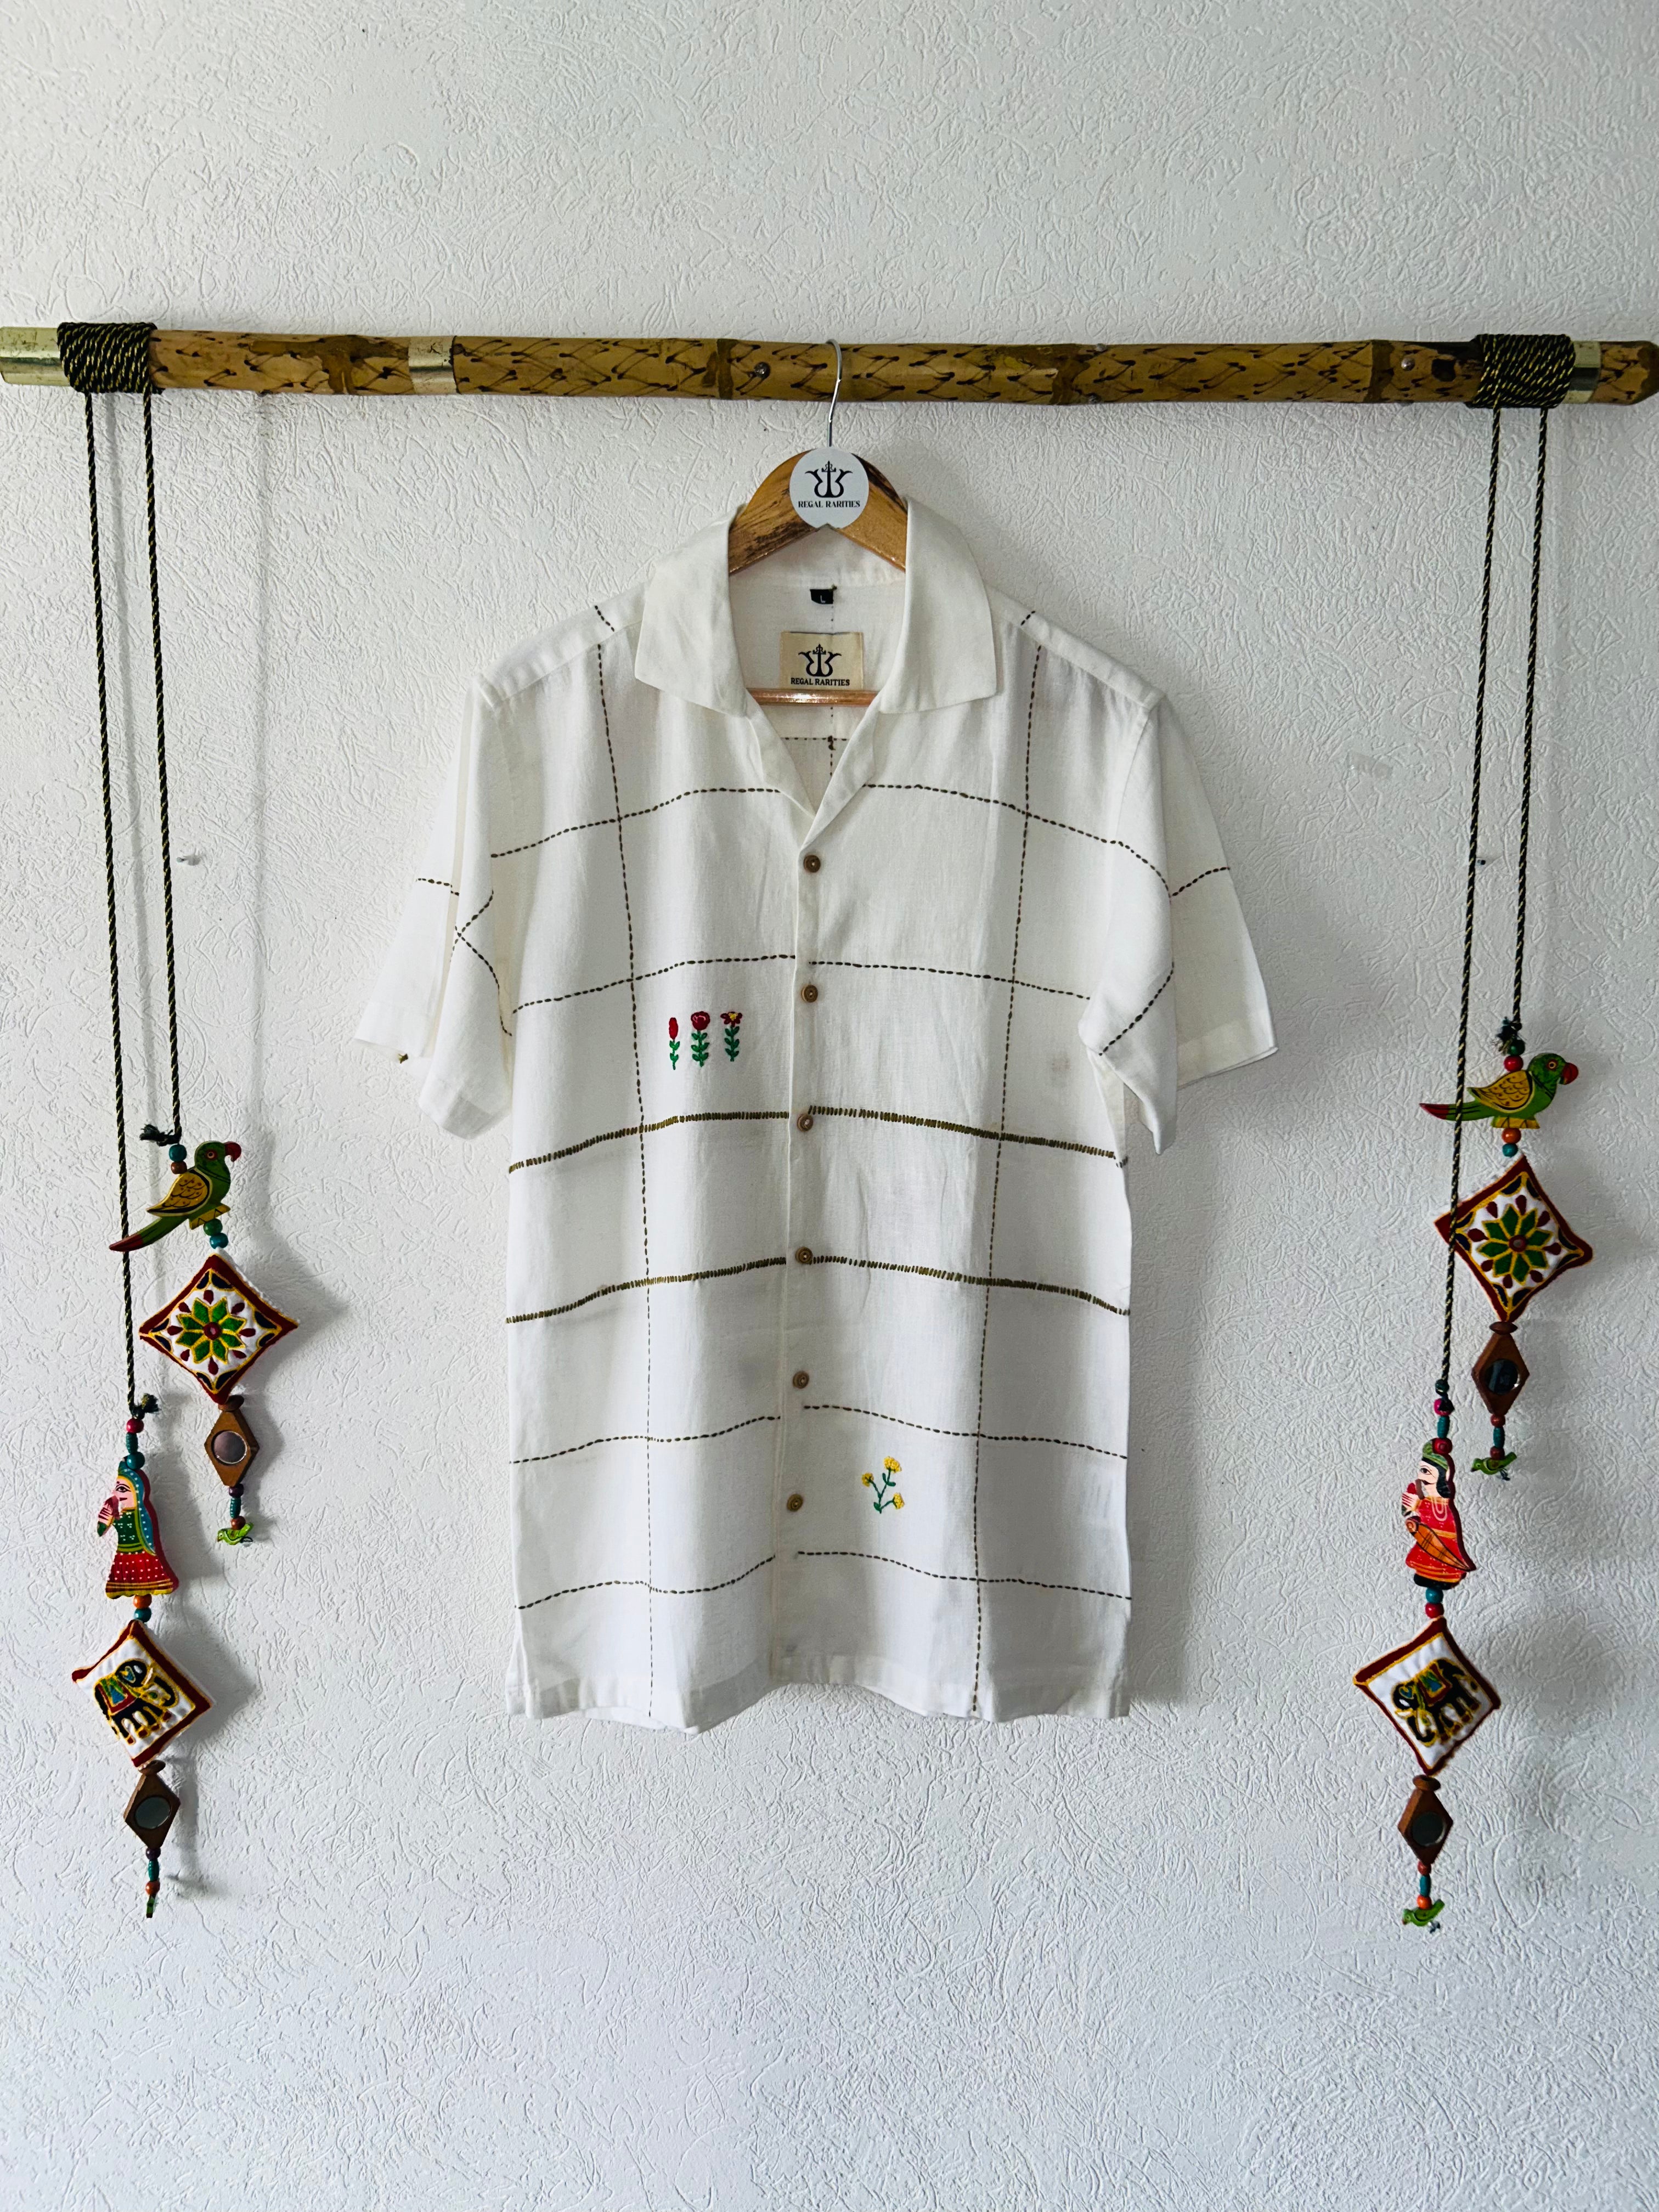
• All-Occasion Shirts: Unisex, comfortable, and versatile. Our hand-embroidered shirts are perfect for casual wear, office, gifting, or dressing up for celebrations.
Our Products
Our Craftsmanship
• Hand-Embroidered Shirts & Blazers: More than just clothing—each piece is a unique designer creation, handcrafted with regional Indian motifs and refined tailoring. Perfect for weddings, festivals, or signature styling.
- Ladies’ Bags – India’s First Fully Customizable Brand: UV Printed Bags &
Embroidered Bags etc..Bags with your favorite name or design
with laptop compartments, luggage straps, and full-body custom designs
2: Countless personalization options you won’t find anywhere else
Every bag is made-to-order and crafted for style, practicality, and individuality.
Elegance Built to Last: From the finest fabrics to precise handwork, our pieces are made for longevity—delivering culture-rich fashion that stands the test of time.
Special Gift OPtion

GIFT
Special Gifting Options
Make every moment unforgettable with Regal Rarities' Signature Gift Box and luxurious gift-wrapping. Whether it's a birthday, wedding, anniversary, or corporate gift—our handcrafted pieces make timeless presents that leave a lasting impression.
Proudly Indian
At Regal Rarities, we don’t just create fashion—we honor a legacy. Every product is proudly Made in India, combining rich cultural heritage with the talent of local artisans. When you choose Regal Rarities, you’re not only embracing handcrafted luxury—you’re supporting India’s vibrant art and craft traditions.
Fashion Born from Passion and Creativity
What Is Linen Fabric?
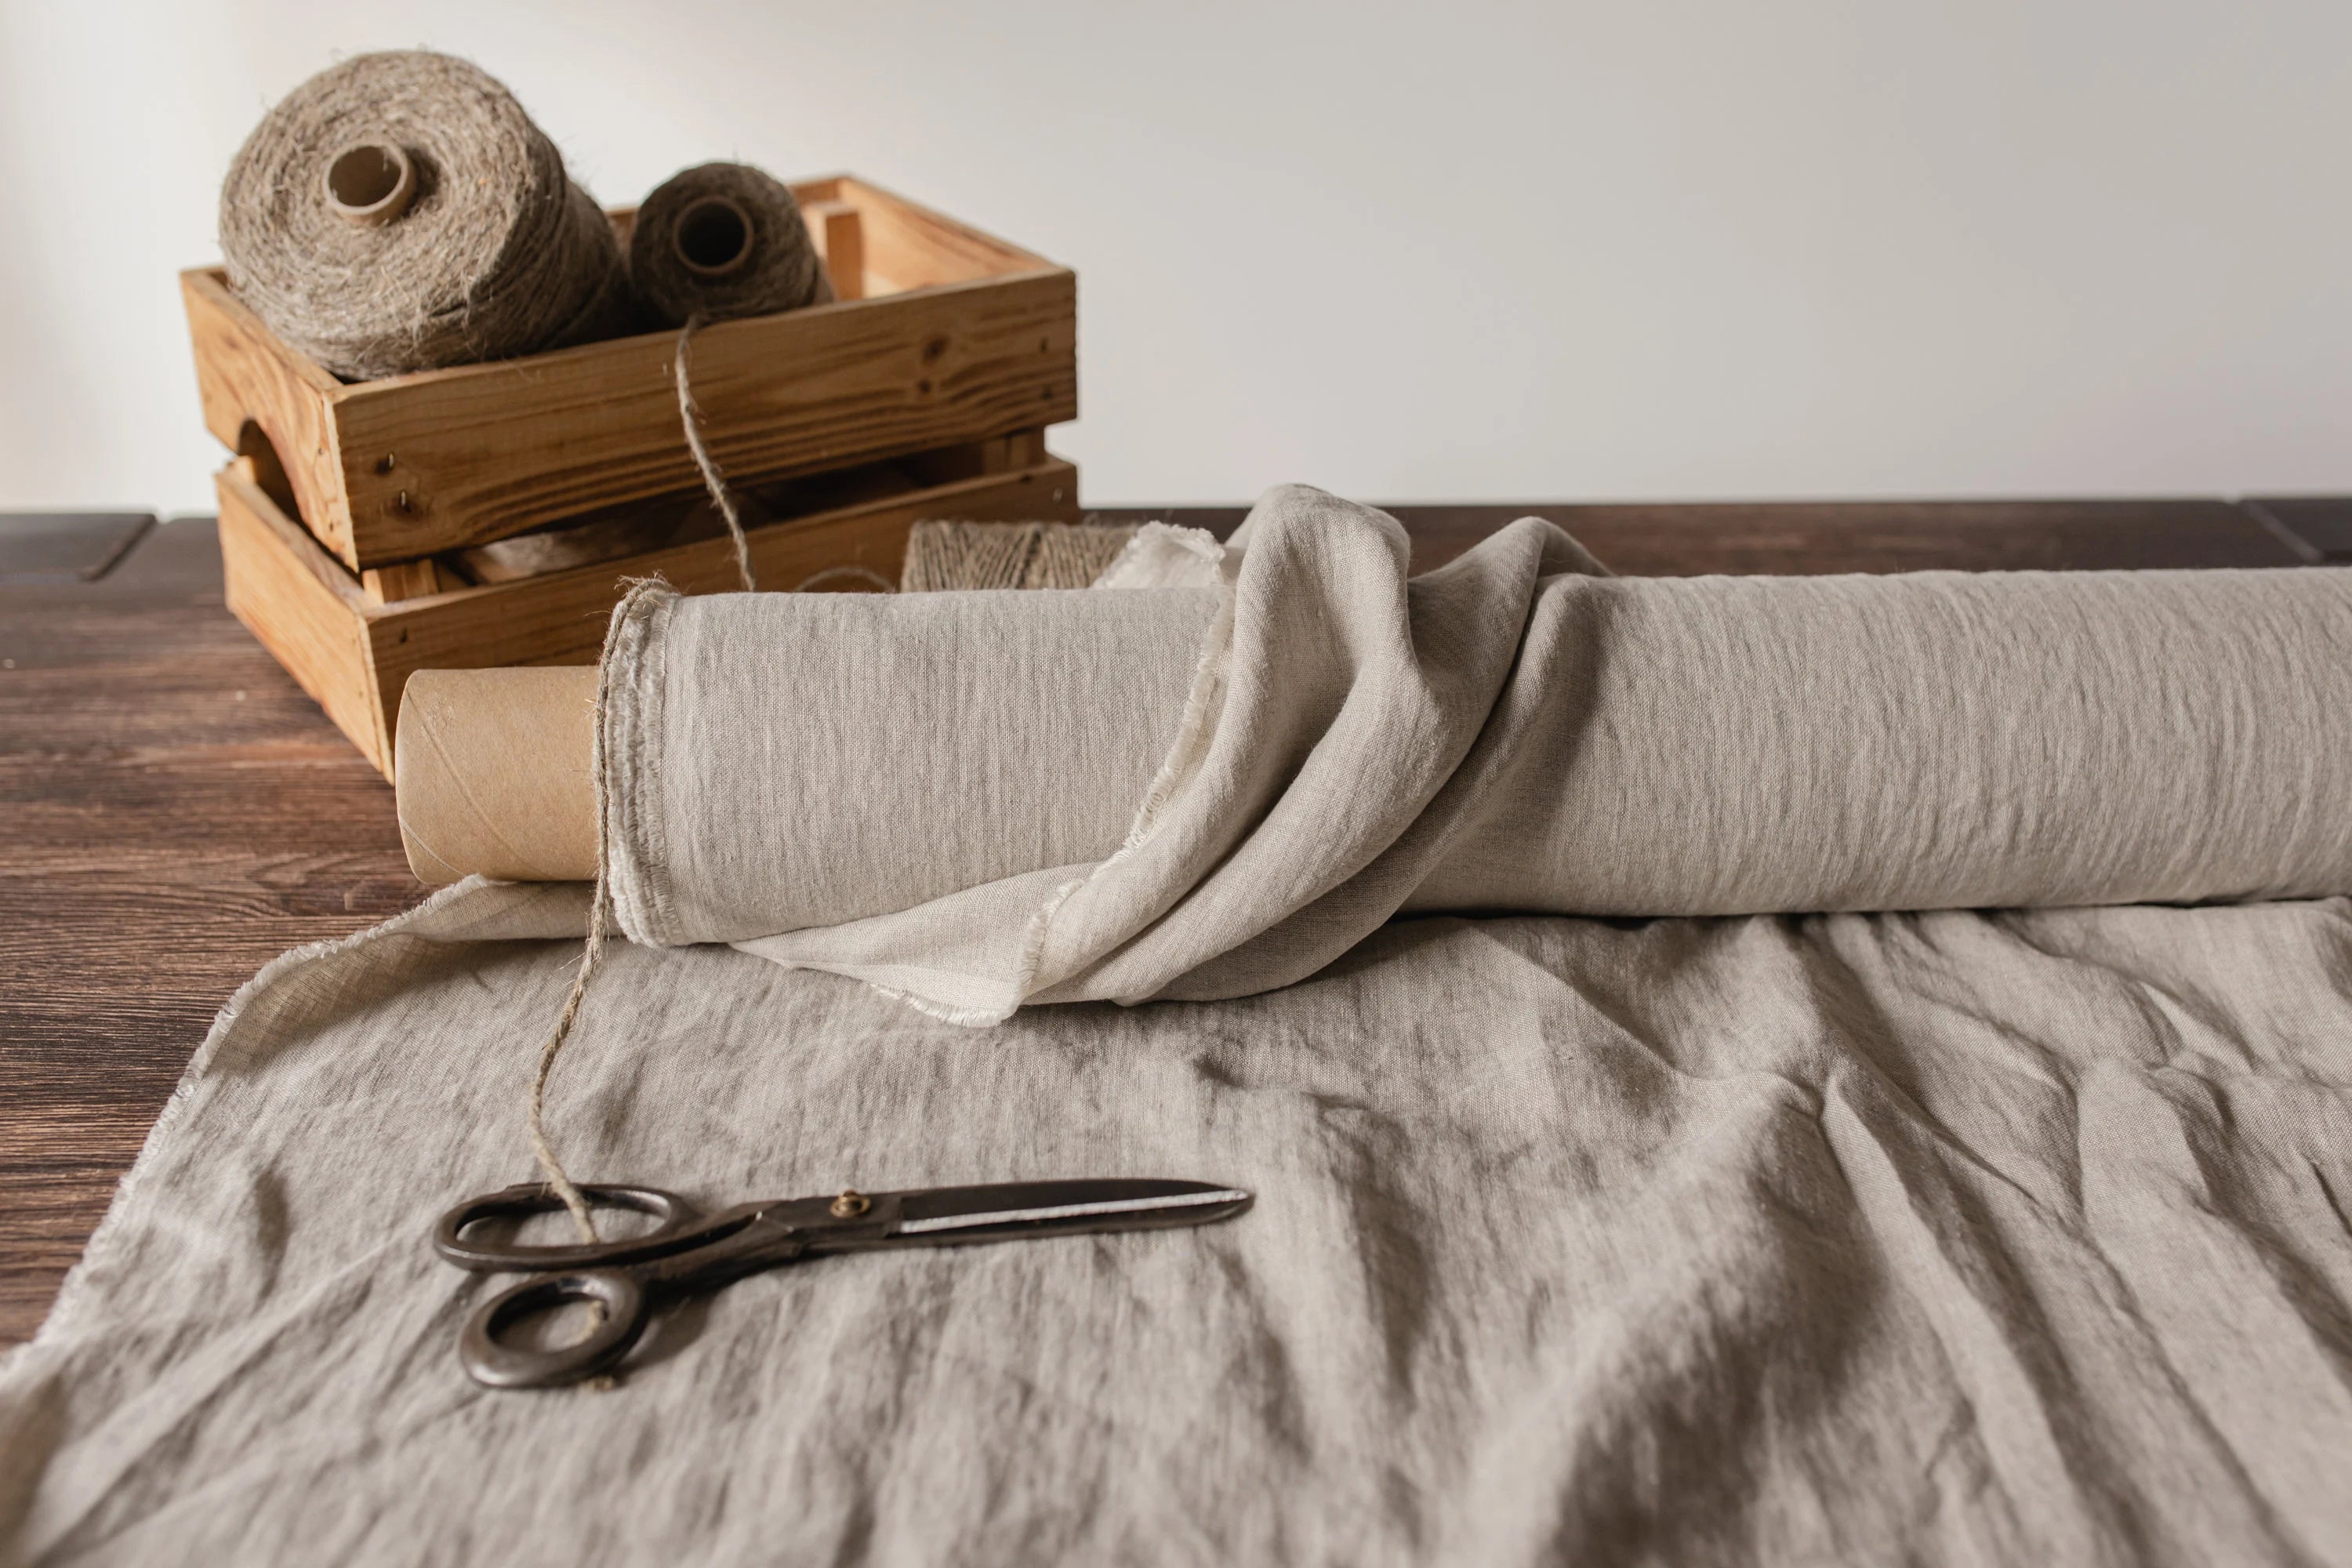
Linen is a flax-based textile that is predominantly used for homeware applications. While linen is similar to cotton, it is made from fibers derived from the stems of the flax plant instead of the bolls that grow around cotton seeds.
Garments made of linen are desirable in hot and humid climates. Unlike cotton, which tends to retain moisture for a significant period of time, linen dries quickly, which helps reduce heat retention in overly warm conditions.
Manufacturing linen, however, is much more time and resource-intensive than making cotton, which has led to a steady reduction in popularity of this fabric that began with the invention of the cotton gin. Nevertheless, the unique desirable attributes of linen have prevented the total cessation of global production of this textile, and certain countries, such as China, continue to make linen in reasonably large quantities.
How Much Does Linen Fabric Cost?
The cost of linen fabric can vary widely depending on factors such as quality, weave, and source. On average, you might expect to pay anywhere from $15 to $50 per meter for standard linen fabric. High-end or designer linen fabrics, especially those with special finishes or patterns, can cost significantly more, sometimes exceeding $100 per meter. For the best value, consider the fabric's weight, durability, and texture to ensure it meets your needs while fitting your budget.
How Does Linen Fabric Impact the Environment?
The main environmental concern regarding linen production is the release of chemicals used in the retting process into surrounding ecosystems. Most commonly, alkali or oxalic acid are used to separate flax fibers from the woody interior of flax stems, and while chemical retting of flax is undeniably faster and more efficient, both alkali and oxalic acid are toxic in relatively low concentrations.
Therefore, water retting of flax stems is preferred for environmental reasons, and to be certified as organic, it’s generally necessary for flax fiber to be water-retted. Since flax is already such an expensive fiber, however, water retting simply compounds on this increased cost to make organic flax less accessible to most consumers.
In addition to concerns over the release of toxic chemicals into the environment, there may also be land use concerns over flax production. Specifically, most cultivation processes used to grow flax degrade soil, which can lead to soil erosion and expansion of agricultural lands into neighboring wilderness areas.
Furthermore, most textile production around the world is inhumane. The vast majority of textile workers are essentially slave laborers who are forced to endure horrific working conditions for insufficient pay. As a result, the ability of linen workers to contribute to local economies is diminished, and stewardship of the land takes a backseat to the pressing day-to-day struggle to survive.
Overall, however, linen is one of the least environmentally damaging textiles. Unlike synthetic textiles, natural fabrics like linen are biodegradable, which means that their constituent molecules reabsorb into the surrounding environment within a matter of years instead of centuries. Natural fibers also don’t contribute to the ongoing microfiber pollution crisis in the hydrosphere, which threatens aquatic and human life.
If linen is cultivated in accordance with proper stewardship of the land, it is not environmentally harmful. To meet the global demand for linen products without incurring prohibitive overhead costs, however, the majority of linen producers choose to use inexpensive processes that may be environmentally damaging.
Linen Fabric Certifications Available ?
A variety of linen fabric certifications are available to ensure that linen fibers are produced with sustainable and responsible means. For instance, linen is eligible for organic certification by both the United States Department of Agriculture and the European Union’s organic certification program as long as it adheres to the standards for organic agriculture imposed by these organizations.
Another independent organization, OEKO-TEX, certifies the safety of linen used for a variety of consumer applications. OEKO-TEX does not provide organic certification; rather, it merely confirms that there are no toxic substances present in linen products intended for the end consumer.
What Different Types of Linen Fabric Are There?
While all types of linen fabric are derived from processed and spun flax fiber, there are four main variations in weaving techniques that result in different types of linen fabric:
1. Damask linen
This type of linen is ornate and delicate, and it is formed on a jacquard loom to produce an end result that’s similar to embroidery. Damask linen isn’t designed for everyday use, and it’s more common in decorative items.
2. Plain-woven linen
Plain-woven linen is commonly used to make dish towels, cotton towels, and hand towels. Since it is relatively loosely-woven, it is highly durable, but it doesn’t suffer from a significant decrease in durability.
3. Loosely-woven linen
Loosely-woven linen is highly absorbent, but it is the least-durable type of linen fabric. It is commonly used to make reusable diapers and sanitary napkins.
4. Sheeting linen
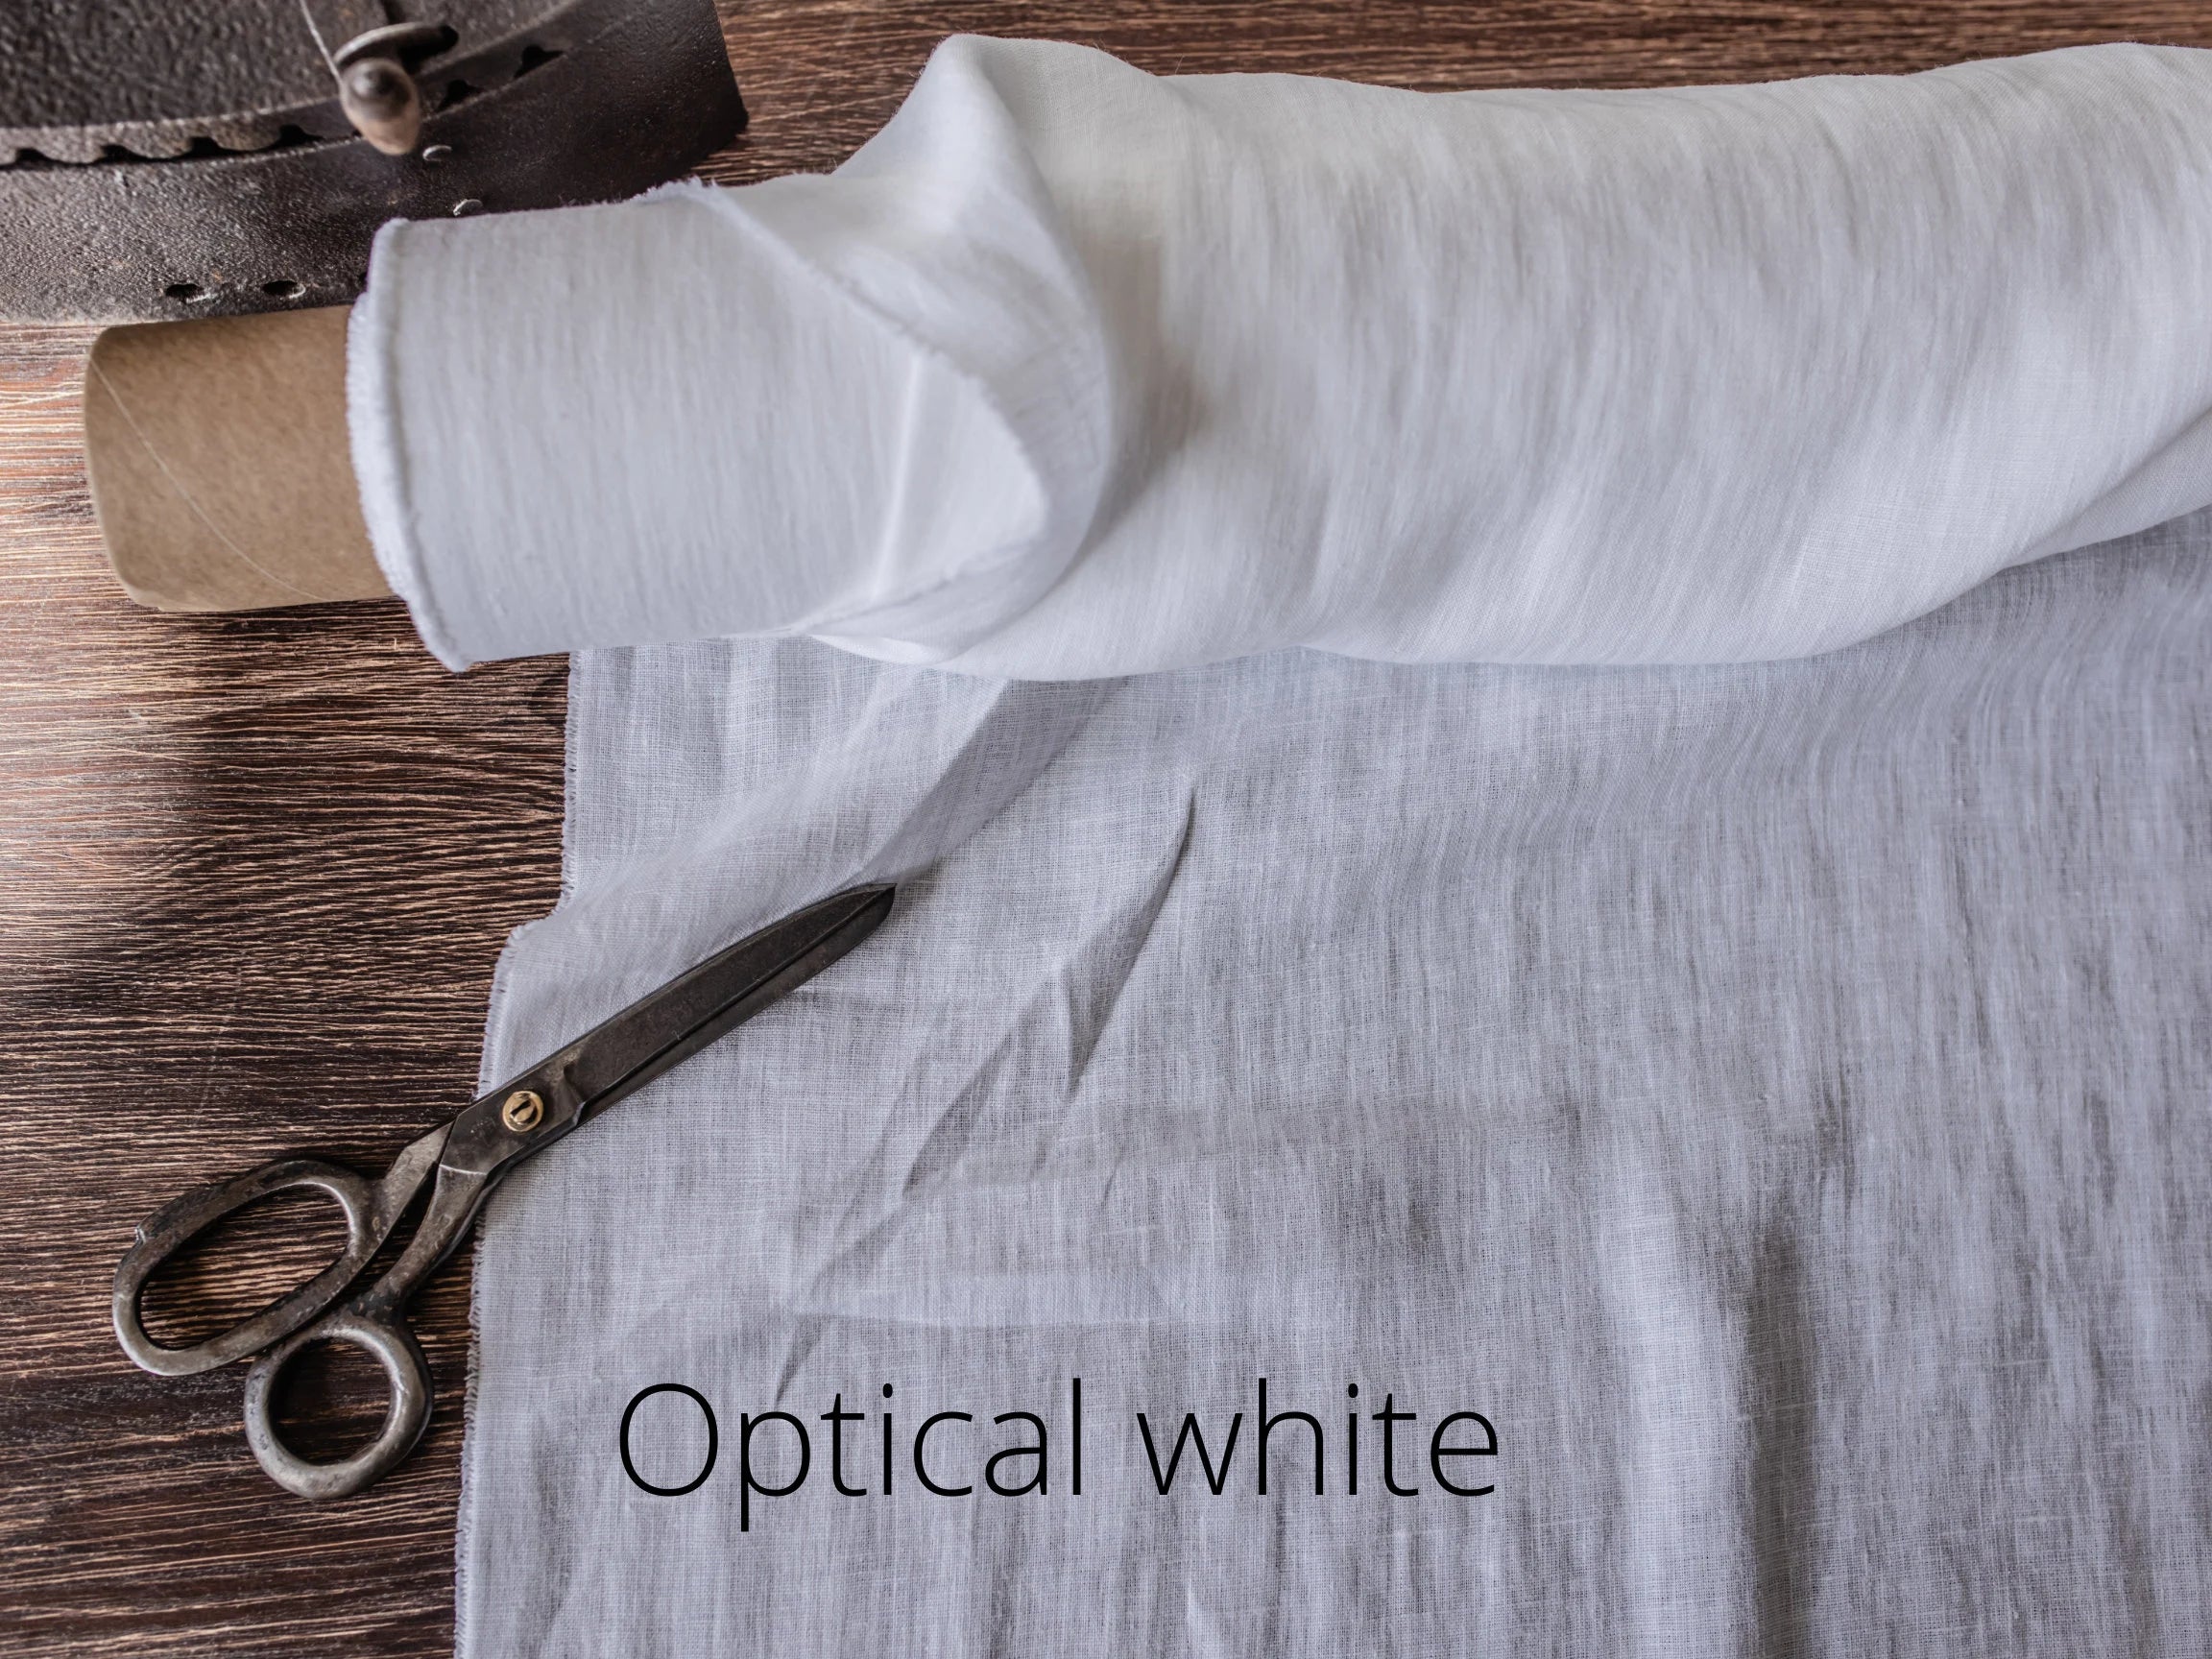
Linen apparel is usually made from sheeting linen due to its untextured, soft surface and close weave. This type of linen usually has a higher thread count than other forms of linen fabric.
Where Is Linen Fabric Produced?
As with most textiles, China is currently the largest producer of linen. However, the production of high-quality linen products remains an important part of the cultures of many European countries, and Ireland, Italy, and Belgium remain significant linen producers. Linen used predominantly for homewares is also produced in the United States in relatively large quantities.
Hand Work Process
1:
Make design.
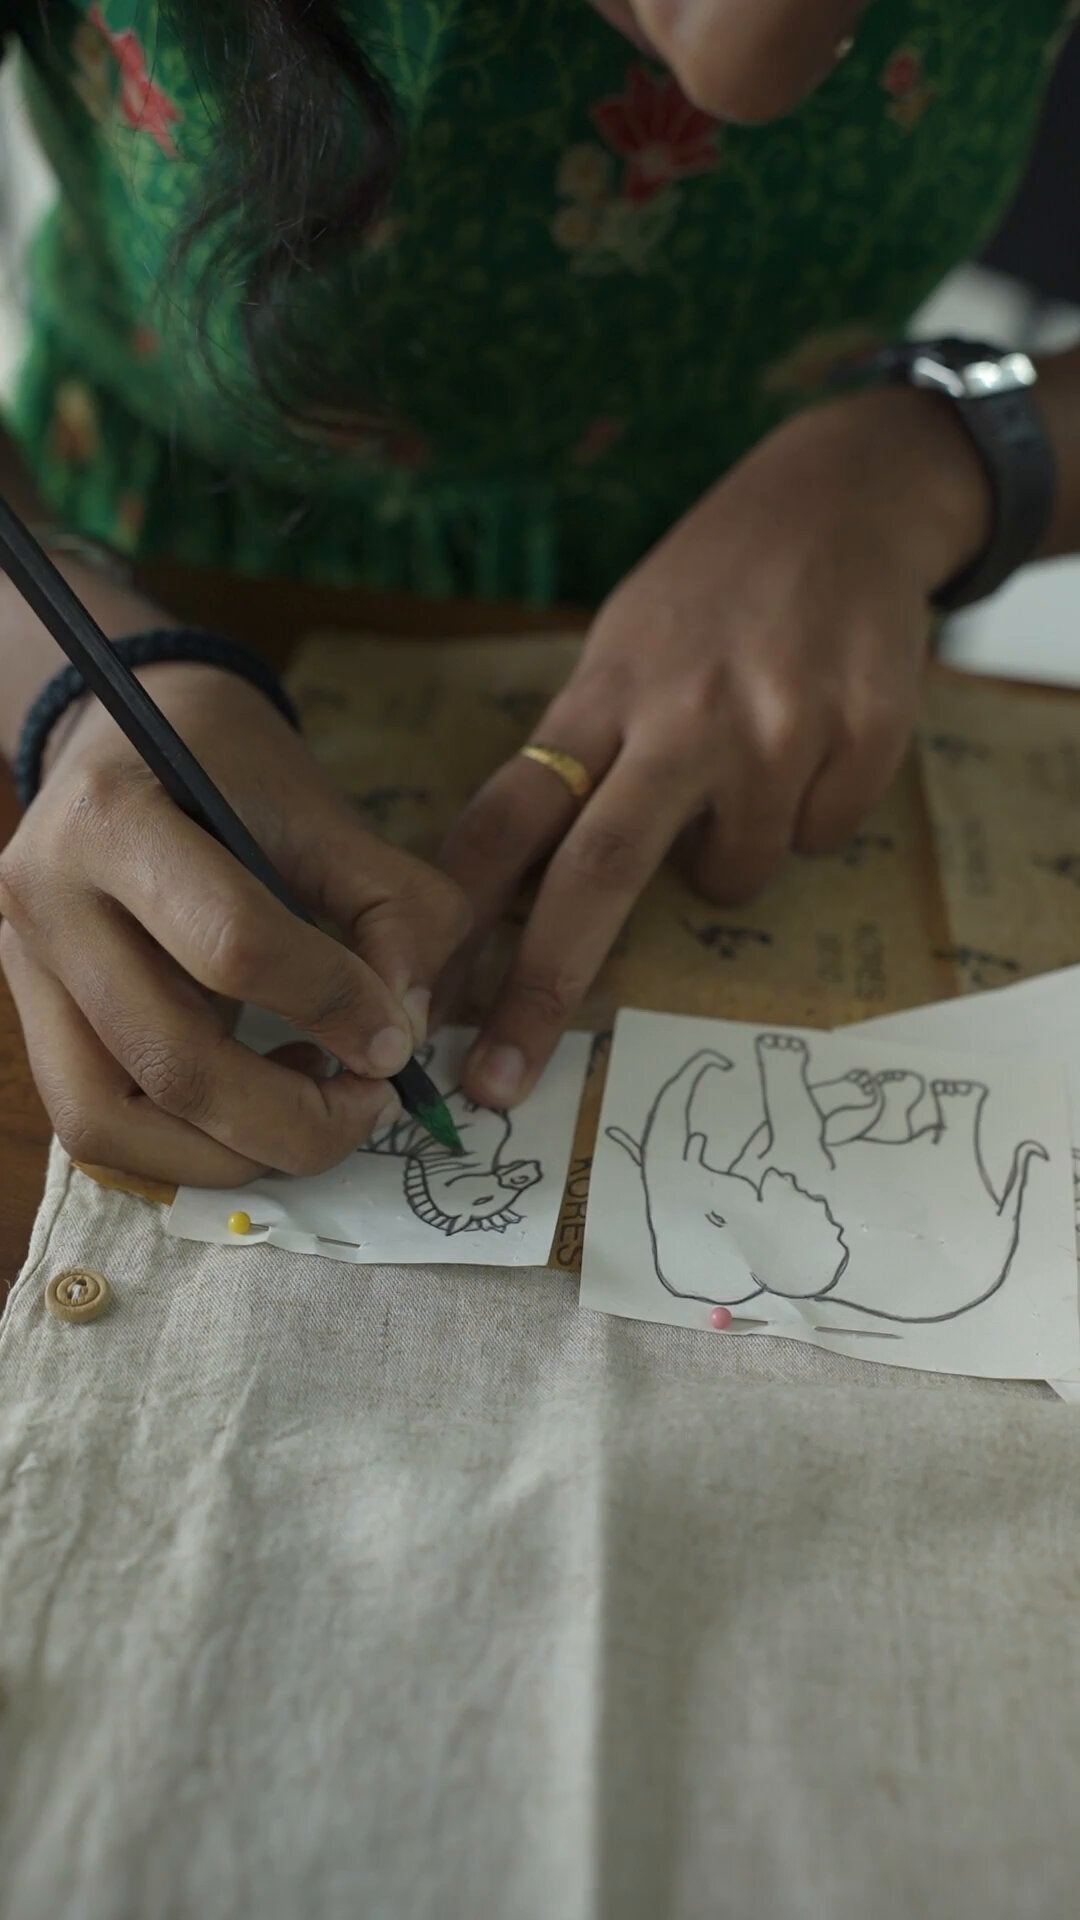
Draw a design on a piece of paper. Get creative with your design! Maybe you decide to embroider some flowers on the pocket of a shirt or spell out an inspiring word like “courage” or “hope” in the middle. No matter your design, make sure it’s sketched darkly enough so you can see it.
If drawing isn’t your thing, no worries! Make your design on the computer or find an image online and print out a template.
2:
Cut out template.
Trim away any excess paper around your design with scissors. Get as close to the design as possible. This will make it easier to transfer your template onto your fabric or stabilizer
3:
Transfer template onto shirt.
Trace your design on a removable stabilizer that sticks to fabric. First, stick the stabilizer on the shirt where you’d like the design to go. Then, lay a piece of carbon paper over the stabilizer. Next, set your paper template on top of the carbon paper and gently retrace your design.
Using a stabilizer is the best way to ensure your stitches won’t deform or lift off your shirt.
Stabilizers come in many different forms. Some go on the underside of the fabric, some can be stuck on the front, and some even come with built-in designs.Because of the many types, make sure to follow your stabilizer’s instructions carefully.
Try drawing directly on the fabric with an erasable fabric marker and using a stabilizer that goes on the underside of the fabric
4:
Secure your T-shirt with a Handwork hoop.
Use a Handwork hoop so your stitches stay flush to the fabric. Unscrew the hoop, and place the smallest hoop on the underside of your fabric and the larger hoop on top. Screw the hoop back together until the fabric is taut and bouncy inside the hoop.
If you don’t have an embroidery hoop, use a couple of straight pins to secure a paper template in place.
Try putting on the shirt before placing your template on the fabric to make sure the design goes exactly where you’d like it.
5:
Thread your needle.
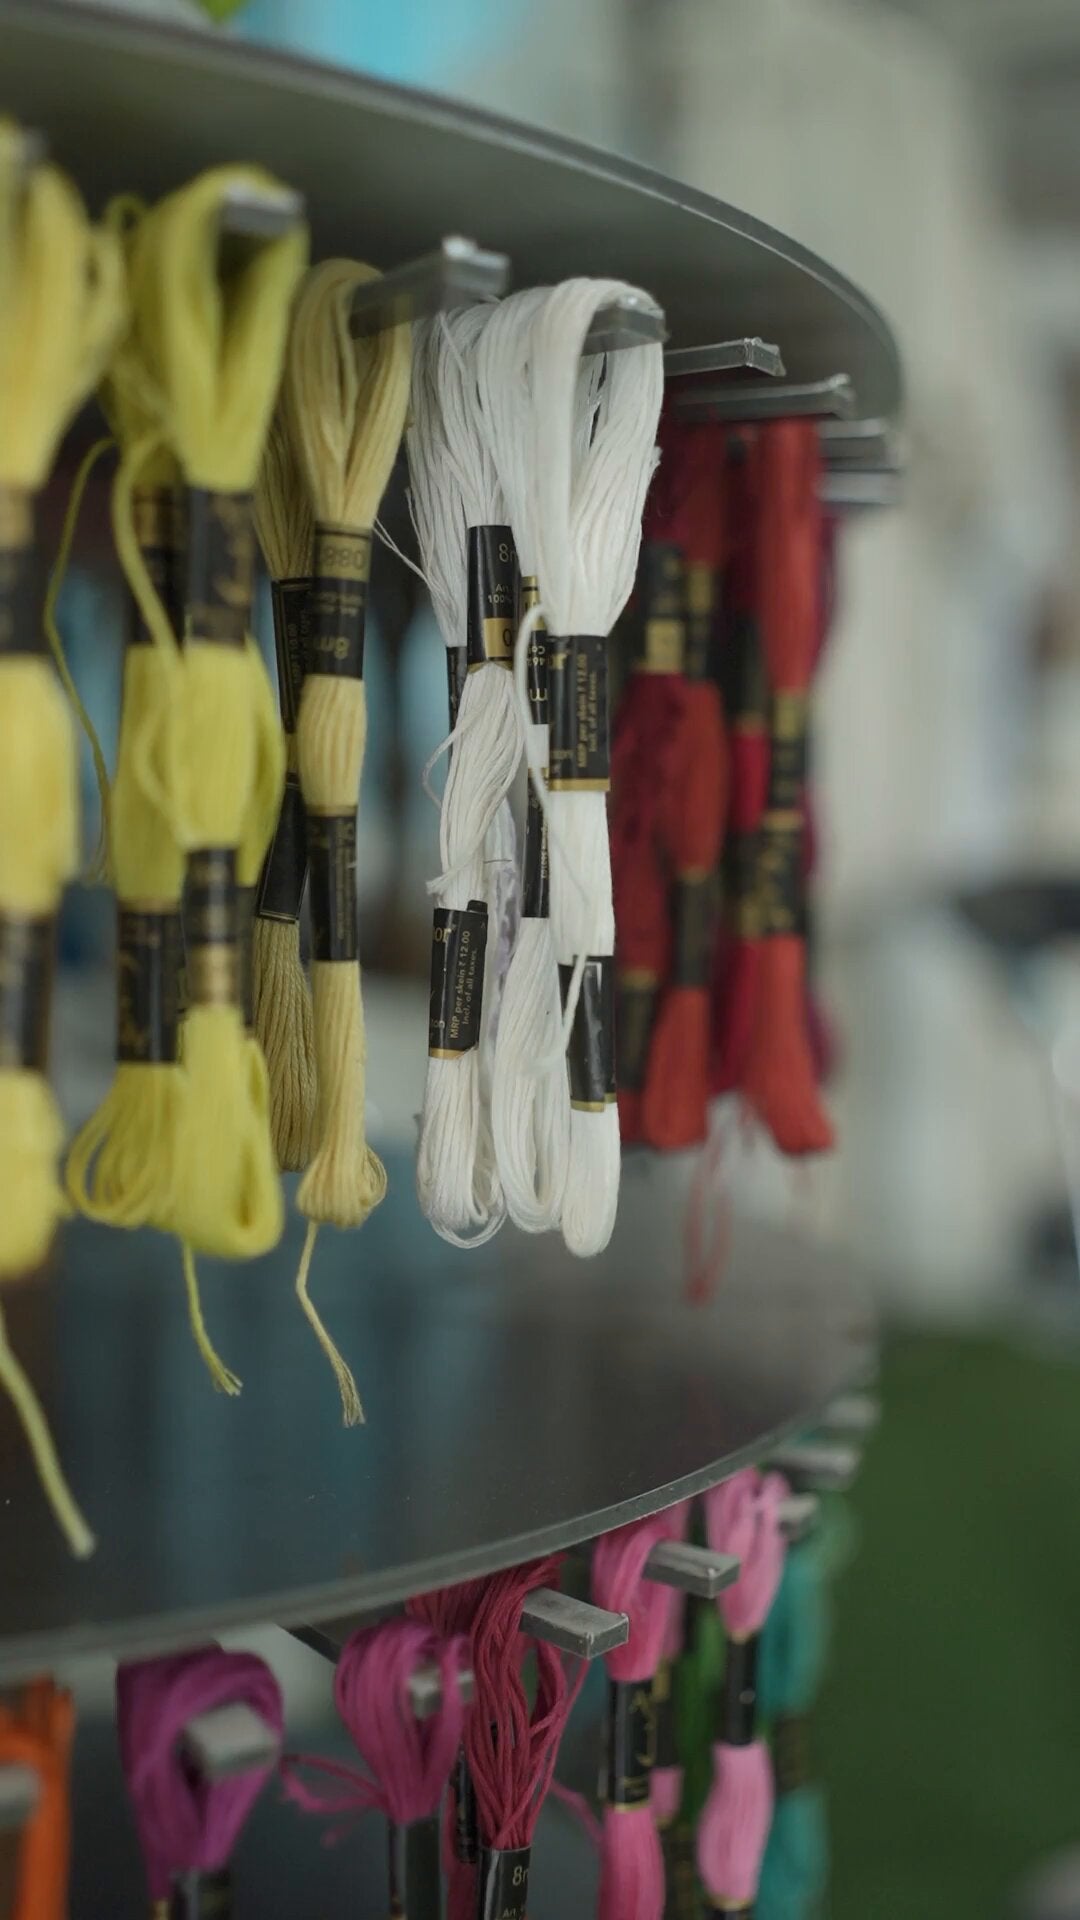
Slide Handwork floss through your needle and knot the end. It’s always better to use more embroidery floss than you think you’ll need. Start by using a piece of thread the same length as your arm. Fold the floss in half and slip the ends through the needle. Tie one end of the floss with a triple knot.
For a wider design, triple the length of floss so you can double back on your stitches.
A string of embroidery floss typically has 6 strands. The fewer strands you use, the more delicate the design; the more strands you use, the thicker the outline will be.
6:
Make first simple stitch.
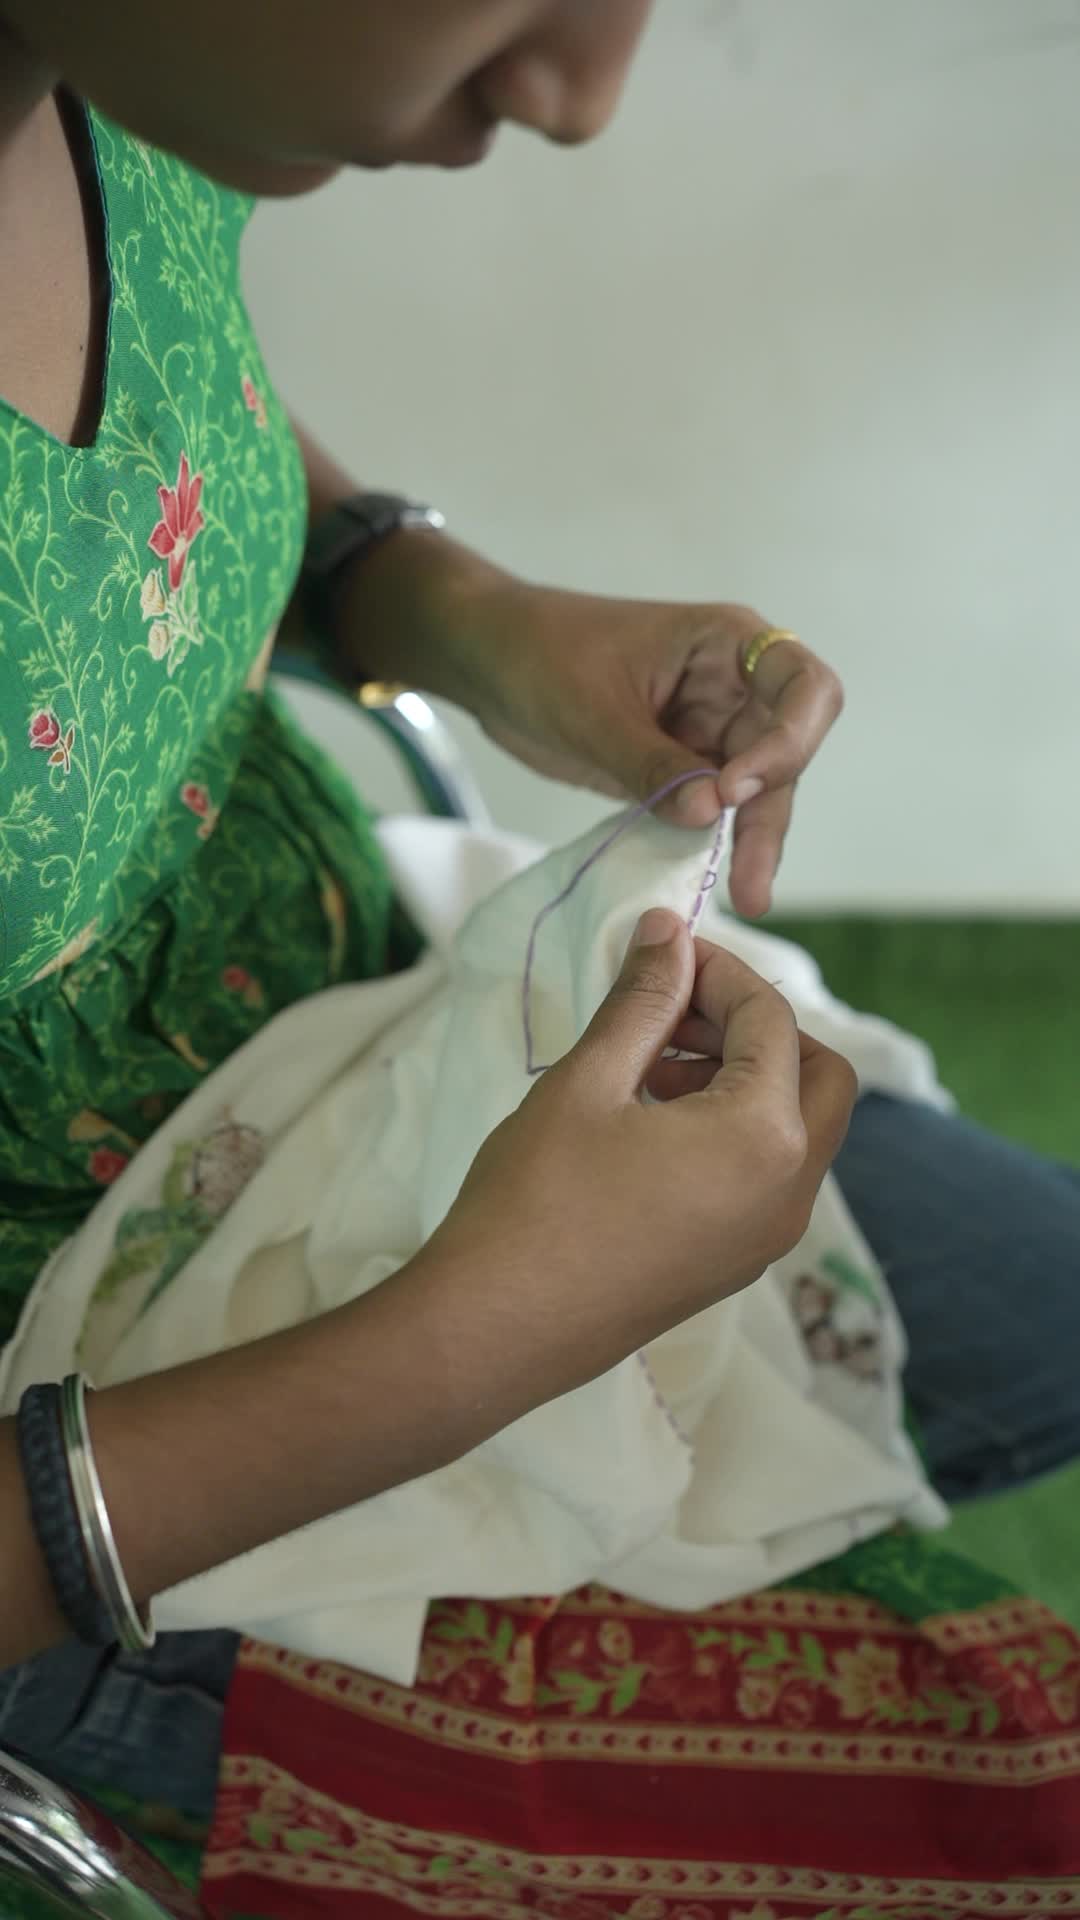
Bring the needle up through the underside of the fabric. Start at a point or edge of your design. Line your needle up with your design from the inside of the shirt. Then, pierce through the fabric and stabilizer and pull the floss taut to start hand Work.
7:
Outline design.
Trace your design with basic embroidery stitches. Use your sketched or printed design as your guide, making stitches along the outline. Here are some beginner-friendly stitches you can try:Simple stitch: Bring the needle up through one side of the fabric and down through the other.
Straight stitch (running stitch): Push the needle through 1 side and back through the other, leaving a tiny space between each stitch to make a dashed line.Back stitch: Make a simple stitch, and then skip the length of the first stitch to make the second. Go back to attach the second stitch to the first to create a solid line.Split stitch: Create a simple stitch, and then push the needle through the middle of the stitch, making a braided line.Try practicing these stitches on a scrap piece of fabric before embroidering your shirt if you’re a beginner.
8:
Fill in design .
Use satin stitch to color in empty space. Bring the needle up through the fabric and back down at the opposite end of the outline to make a straight stitch. Then, bring the needle back up as close to the last stitch as possible. Continue stitching until the desired area of your design is completely filled in.This step is optional but can add depth and dimension to your design, especially if you want your design to be a complete image rather than an outline.
9 :
Secure stitches with a knot.
Slip your needle under a stitch to end your stitching. Pull back the fabric of your shirt to see the underside of your stitches. Pull your needle halfway through a stitch. Loop thread around your needle twice (while it’s still hooked under the stitch), and then pull the needle through to form a knot.
Keeping the knot on the underside of the fabric ensures that it won’t be seen within your design.
If you’re using more than one floss color, do this before stitching with a new color.
10:
Trim off any excess floss.
Cut leftover thread away from the knot using a pair of scissors. Try to get as close to the knot as possible.For extra security, dab some fabric glue on the knot to keep it from unraveling over time.
11:
Remove the embroidery hoop.
Unscrew the hoop and take it off of the fabric. Then, if you used a stabilizer to transfer your design, carefully remove it from your stitching following the product’s instructions.Once everything is removed from your fabric, you’re ready to wear and rock your embroidered shirt!
Most stabilizers can be cut or washed away, depending on the type.
Use scissors to trim away access cut-away stabilizer as close to the stitching as possible.
Spray water-soluble stabilizer with water and pick off the excess or throw it in the wash.

